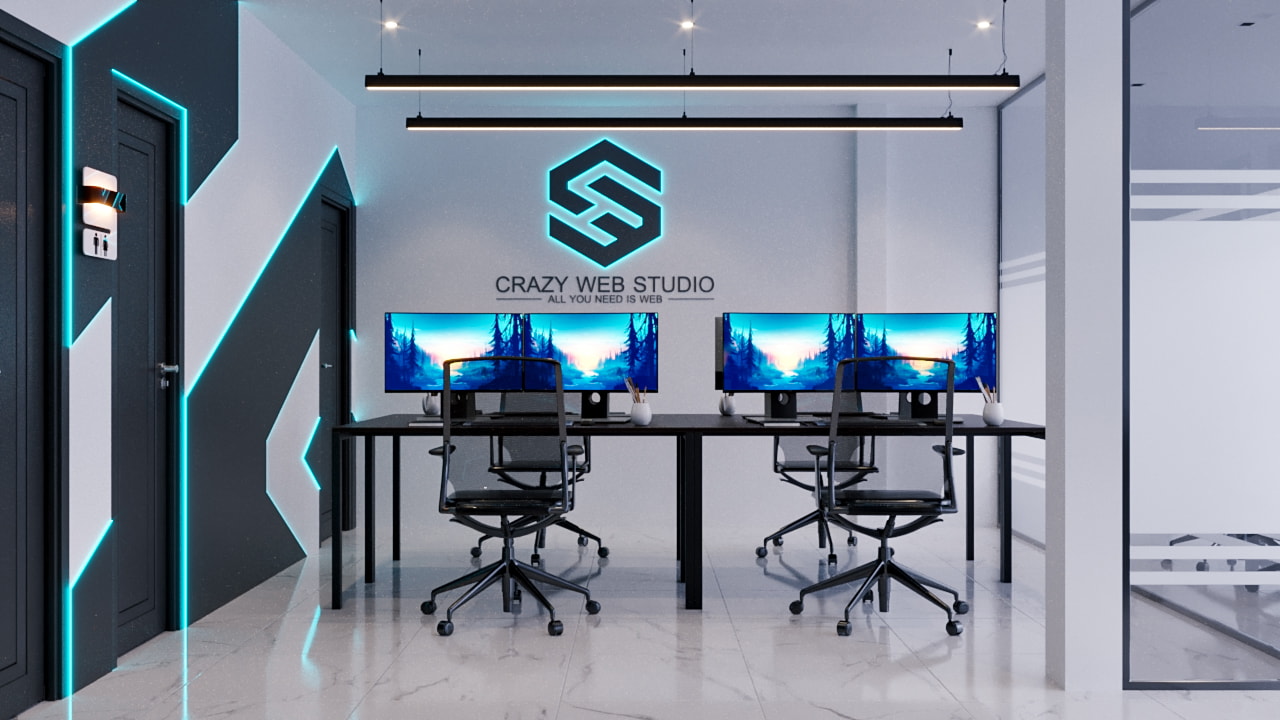


The 3D Rendering Creation Process: From Concept to Completion

The 3D Rendering Creation Process
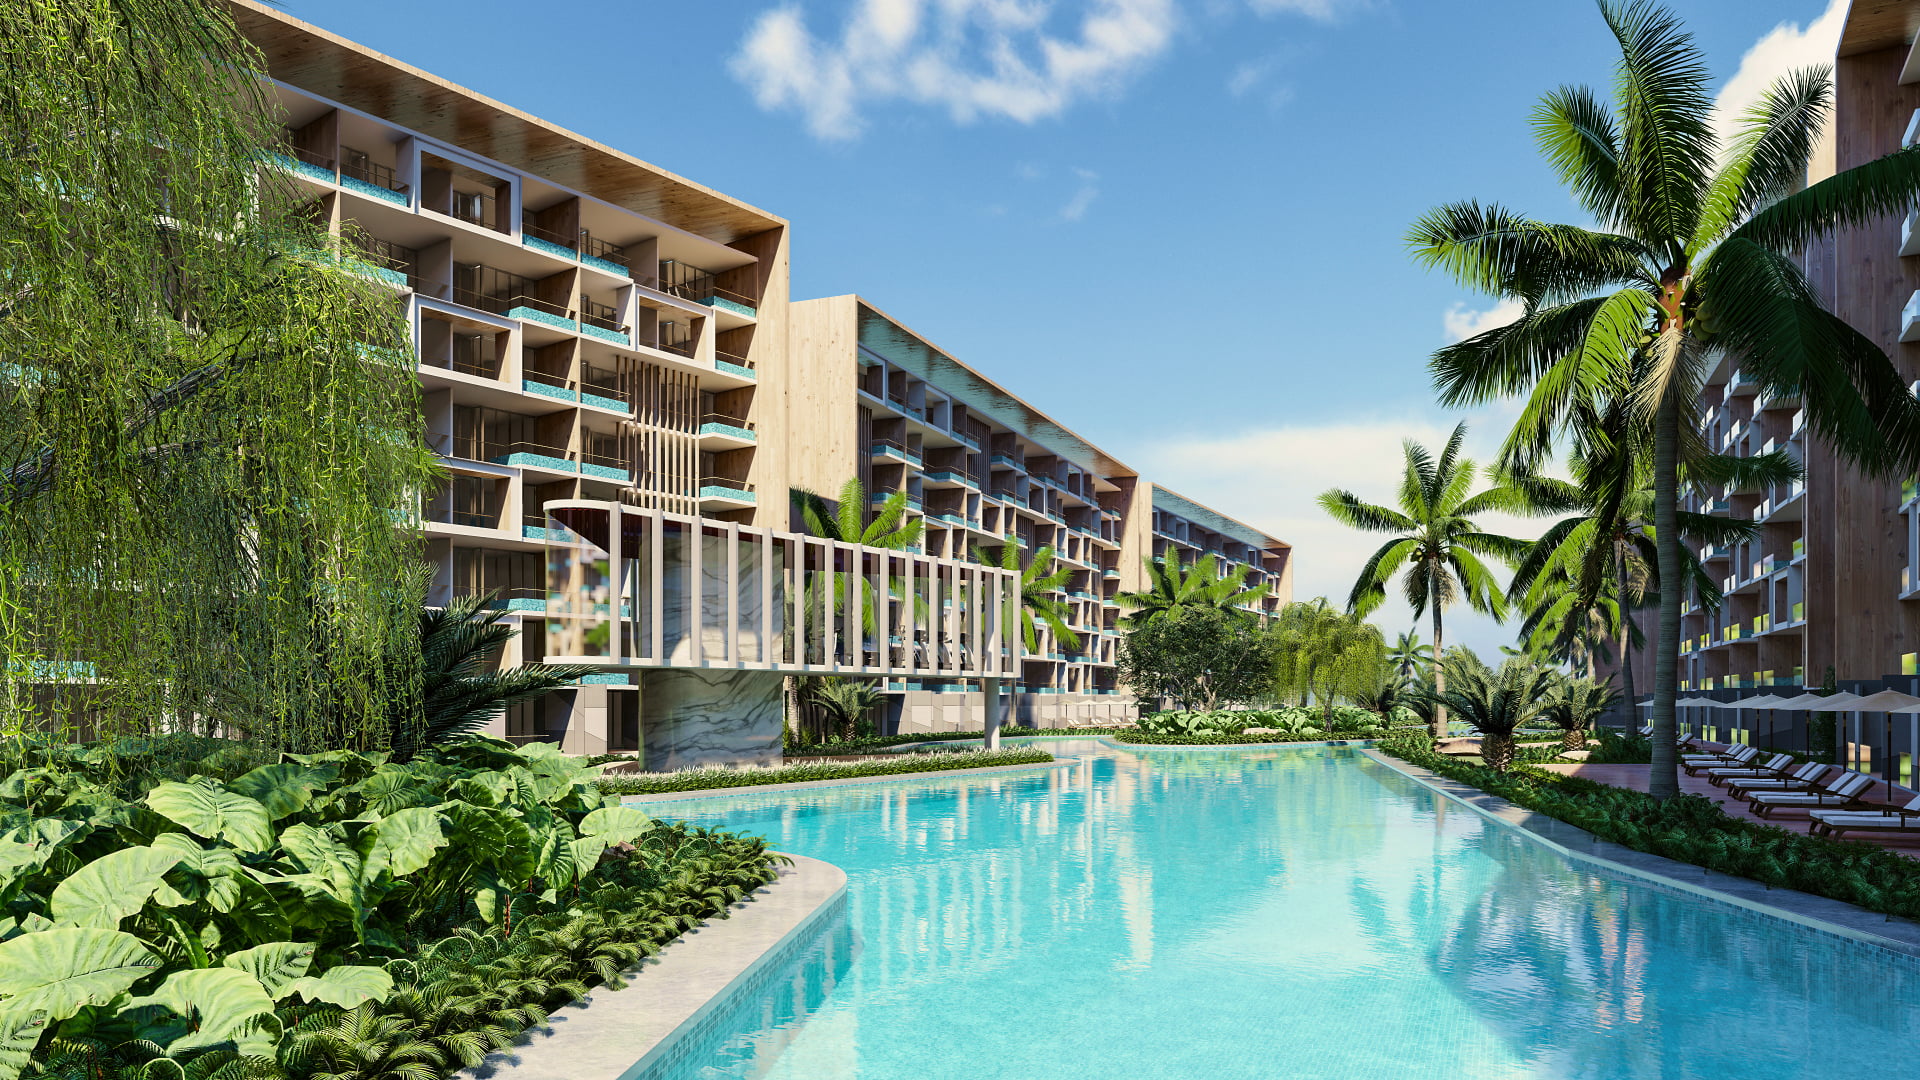
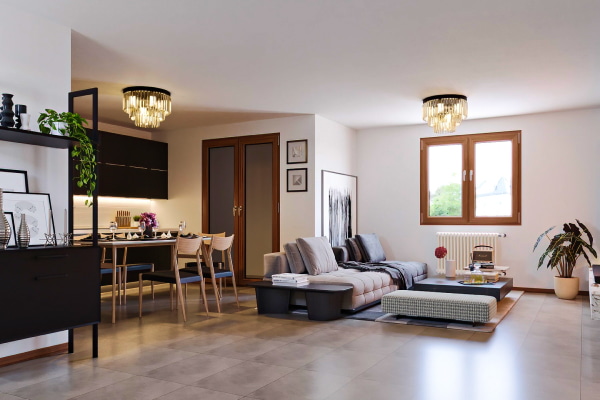
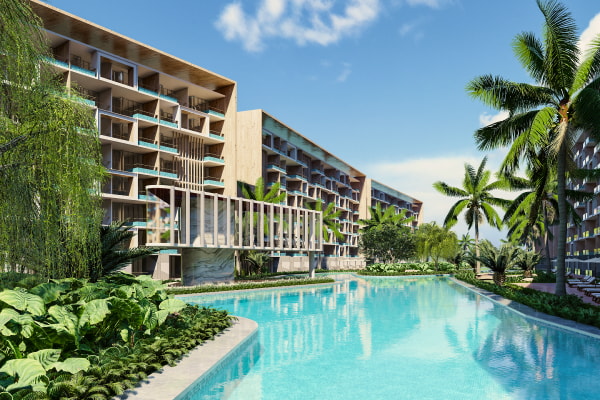
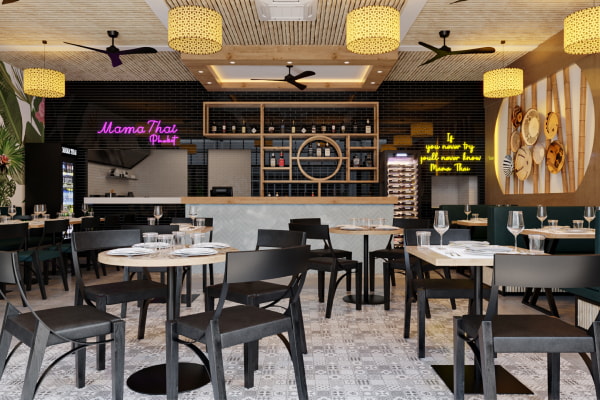
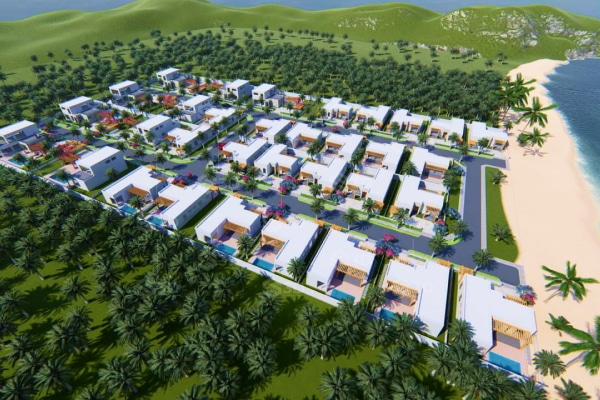
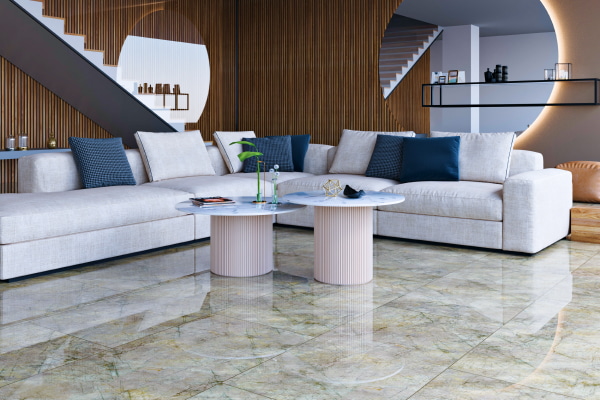
In today’s digital era, 3D rendering has revolutionized how we visualize spaces, products, and ideas. Whether it’s photorealistic architectural imagery, dynamic 3D videos, or practical floor plans, understanding the behind-the-scenes process reveals the incredible blend of artistry and technology involved. Here’s a step-by-step breakdown of how these digital masterpieces are created.
Step 1: Concept Development and Briefing
Every project begins with a clear vision and detailed briefing:
- Define project scope, objectives, and target audience
- Determine required level of detail
- Set realistic timelines and budgets
Reference materials like sketches, photographs, CAD drawings, and mood boards are collected to guide the creative process (Autodesk, 2023).
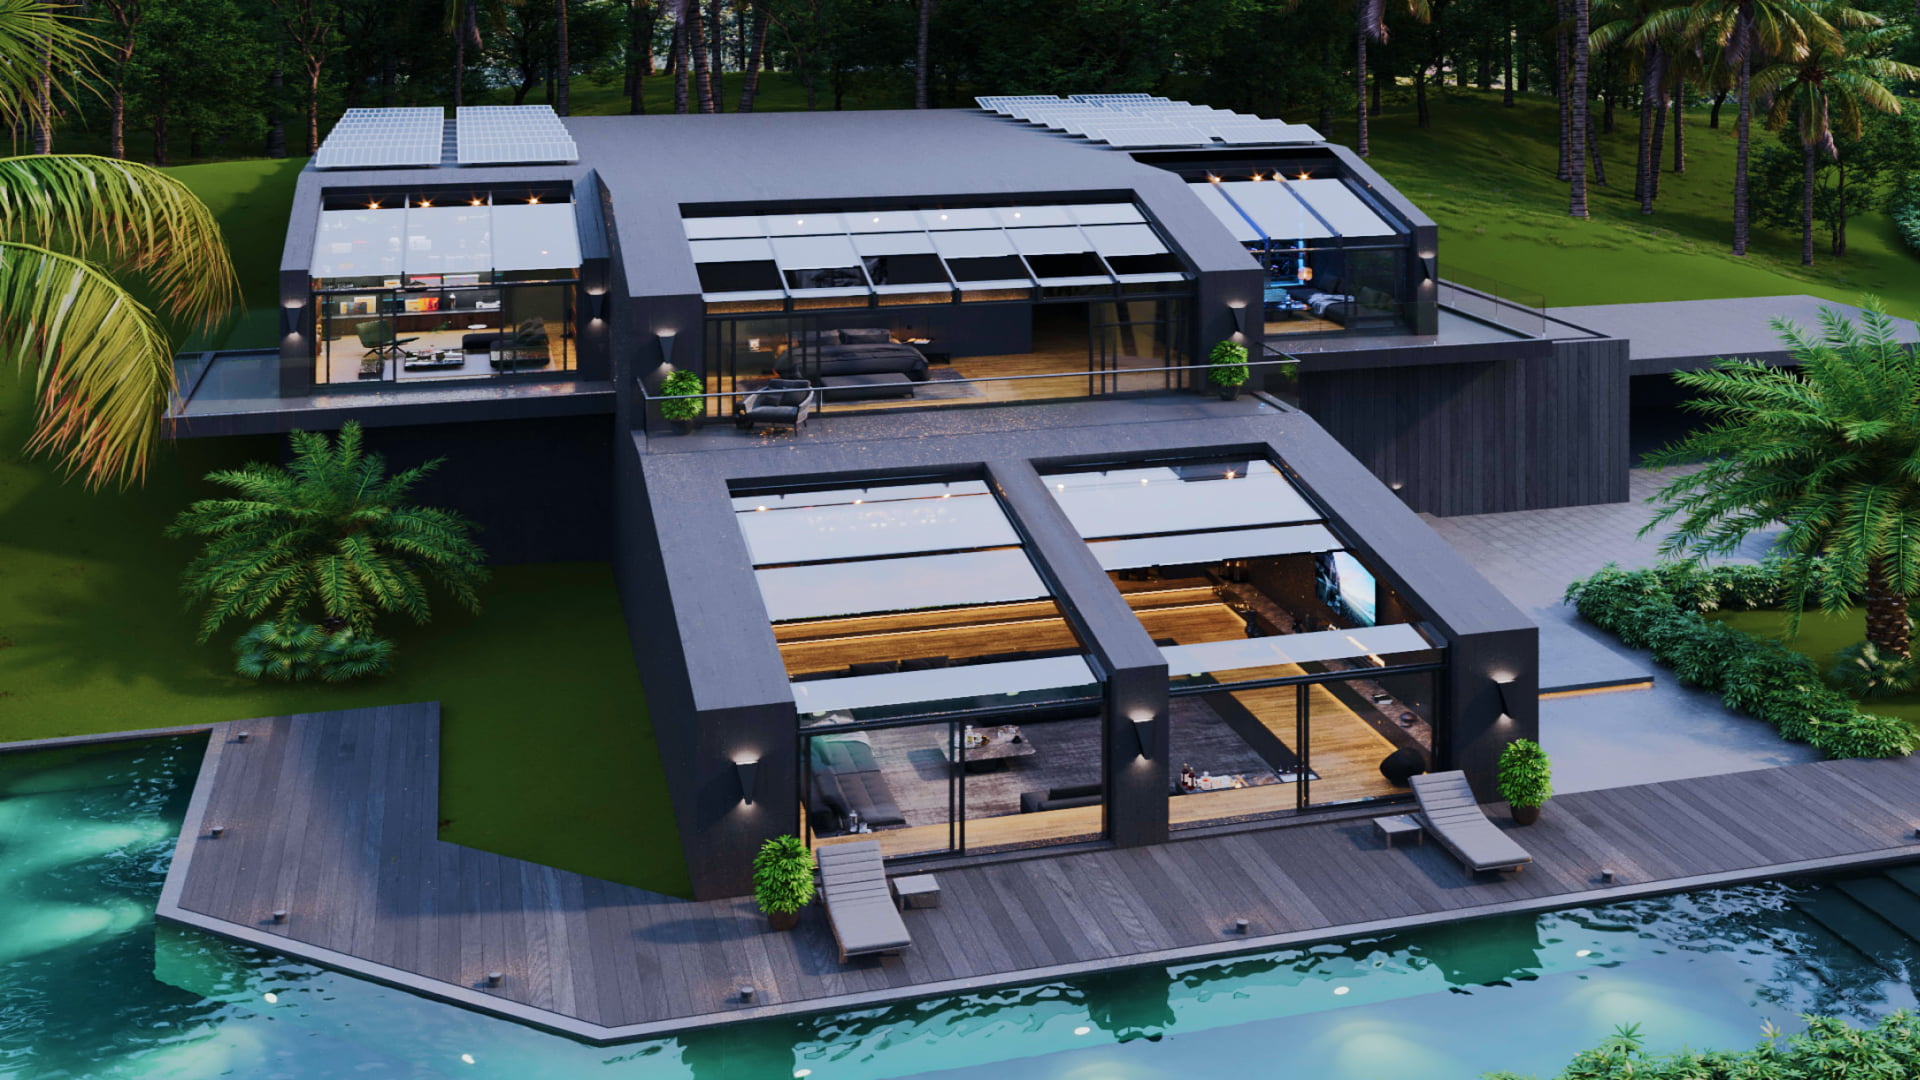
Step 2: 3D Modeling – Building the Digital Framework
Modeling transforms ideas into three-dimensional digital forms:
- Architecture: Walls, floors, windows, and structures are modeled based on architectural drawings.
- Products: Precision modeling based on exact measurements brings objects to life.
- Characters/Organic Forms: Artists use techniques like box modeling, sculpting, and procedural modeling.
Software like Blender, 3ds Max, Maya, and SketchUp are industry favorites for this phase (Blender, 2024).
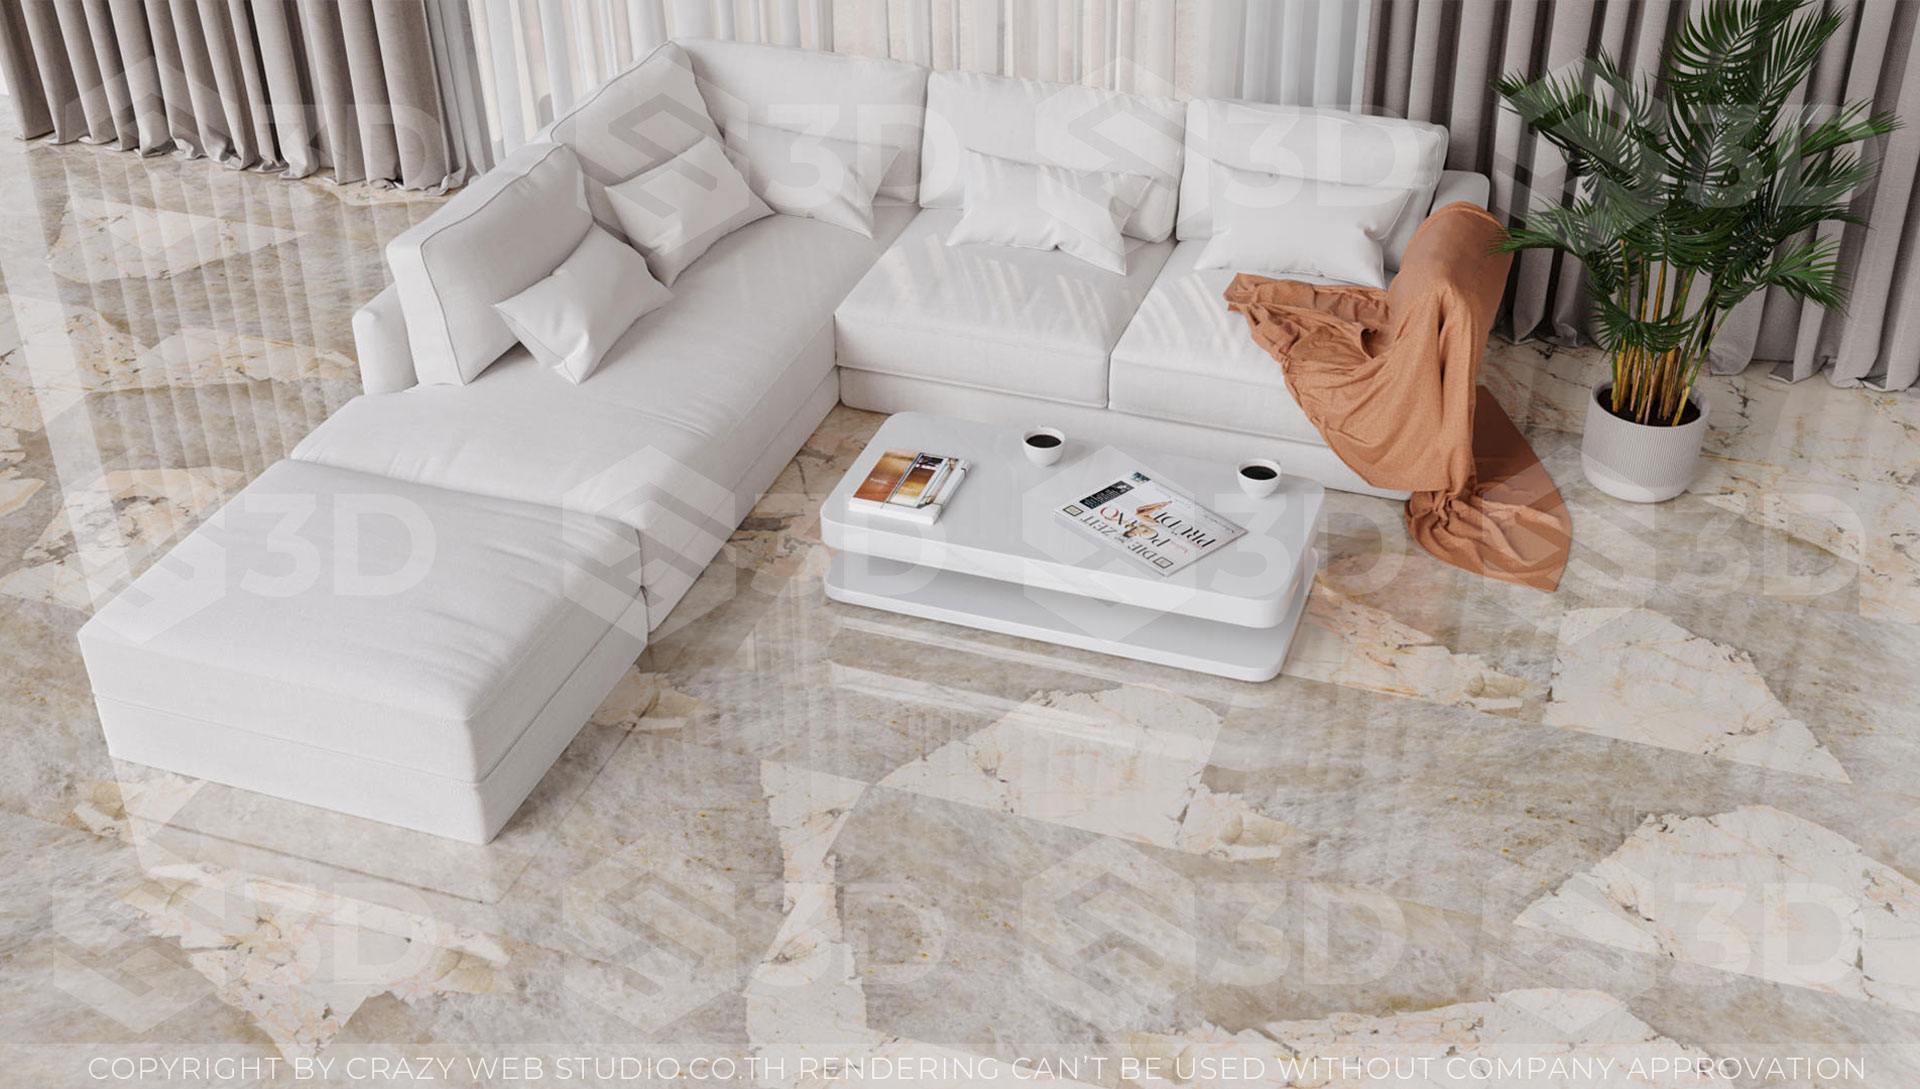
Step 3: UV Mapping and Texturing – Adding Surface Details
To make 3D models look realistic, textures are meticulously applied:
- UV Mapping: The 3D model is “unfolded” into 2D coordinates to map textures accurately.
- Material Application: Real-world materials like metal, glass, and wood are recreated digitally.
- Texture Mapping: High-resolution images are applied to surfaces.
- Procedural Textures: Used when scalable, detailed textures are needed without stretching.
Proper texturing is a cornerstone of photorealism (Substance 3D, 2023).
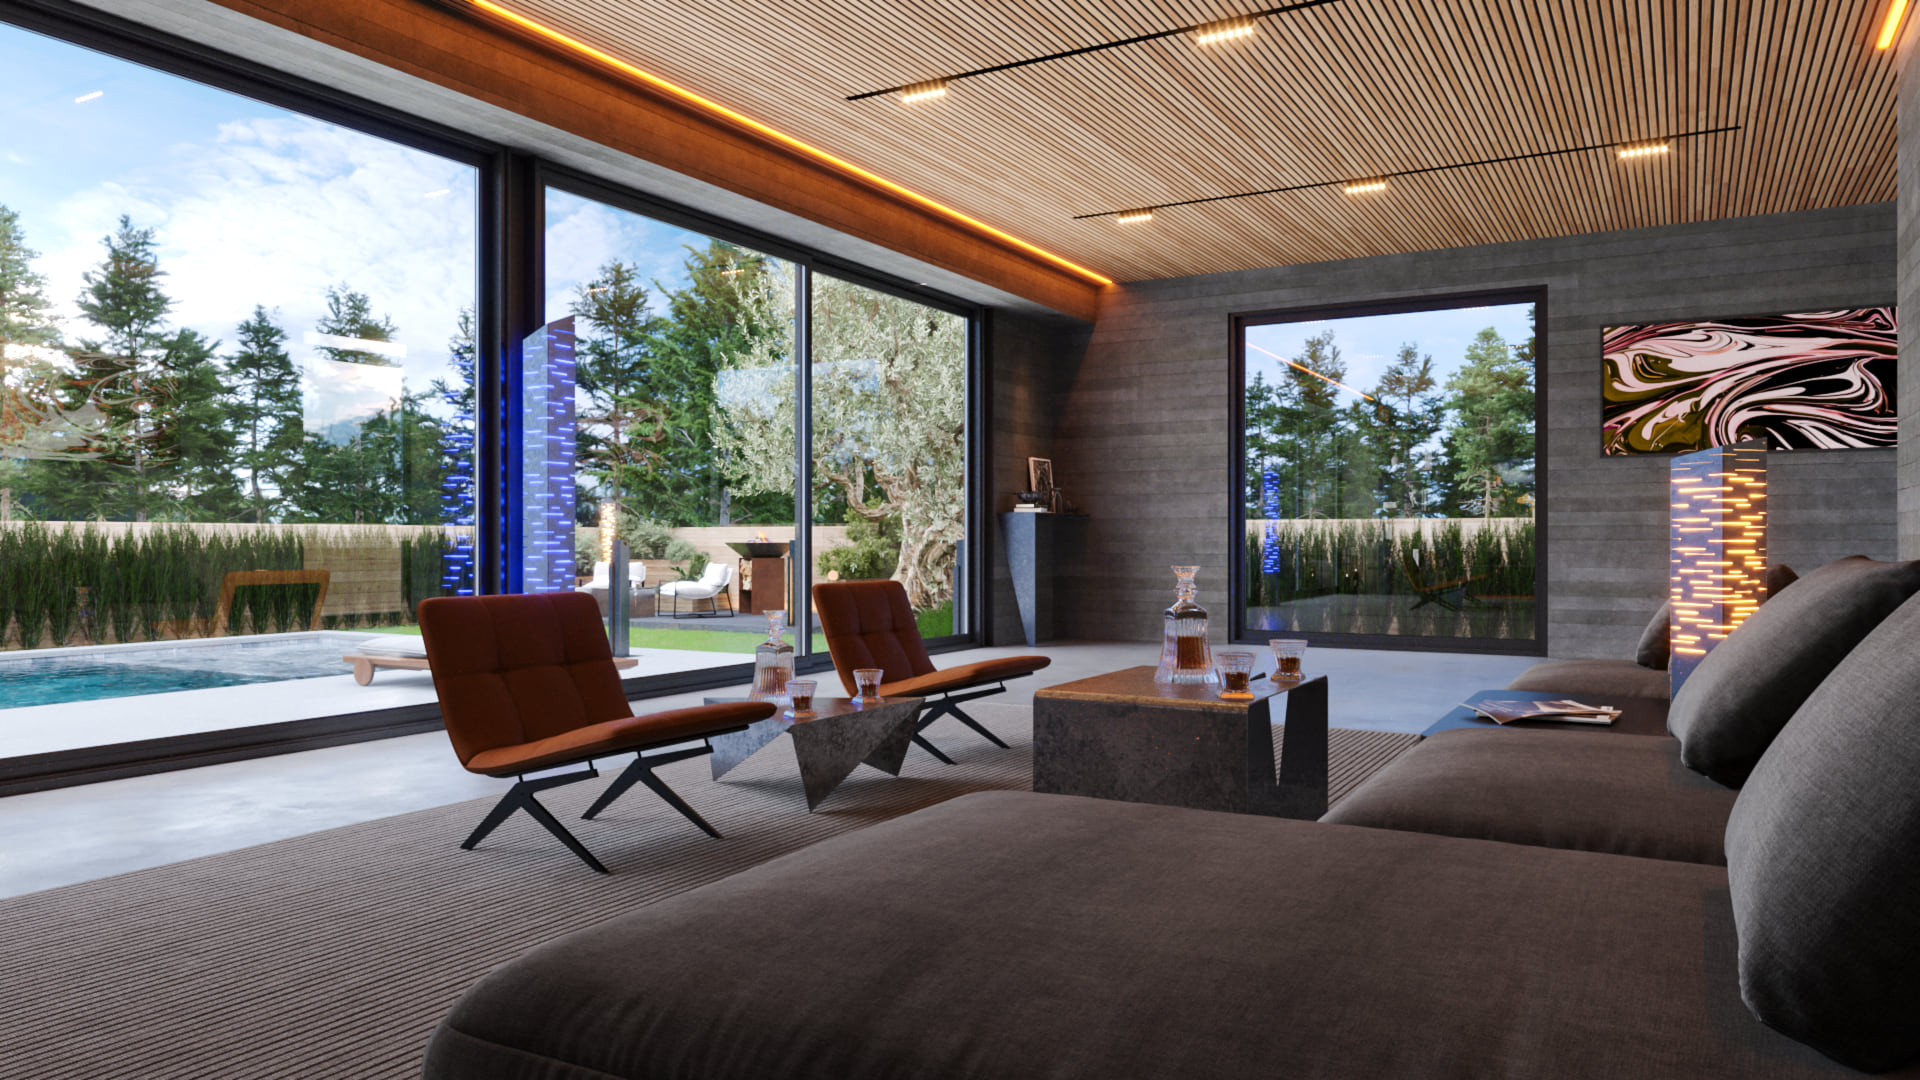
Step 4: Lighting – Creating Atmosphere and Depth
Lighting breathes life into 3D scenes:
- Natural Lighting: Simulates daylight and environmental conditions.
- Artificial Lighting: Emulates indoor lights, product highlights, and special effects.
- Global Illumination: Realistically mimics how light bounces off surfaces.
Artists often apply principles from photography and cinematography to craft the perfect mood (Chaos Group, 2024).
Step 5: Camera Setup and Composition
Just like in photography, the camera setup shapes the viewer’s perception:
- Positioning: Sets the viewpoint and spatial emphasis.
- Focal Length: Controls depth of field and perspective.
- Composition: Techniques like the rule of thirds, leading lines, and framing guide the visual story.
For animations and 3D videos, dynamic camera paths are carefully choreographed (Pluralsight, 2023).
Step 6: Rendering – Converting 3D into 2D
Rendering turns the assembled 3D scene into a final image or animation:
- Render Settings: Resolution, sampling quality, and formats are selected.
- Engine Choice: Different engines like V-Ray, Cycles, Arnold, or Octane offer varying rendering styles.
- Render Passes: Elements like diffuse color, reflections, and shadows can be separated for flexibility in post-production.
- Render Farms: Complex projects often require distributed computing for faster results.
Depending on complexity, rendering times can range from minutes to several days (V-Ray, 2024).
Step 7: Post-Processing – Fine-Tuning the Final Look
After rendering, the output undergoes final polishing:
- Color Grading: Adjusts tones, contrasts, and vibrancy.
- Compositing: Layers different render passes and adds depth-of-field, lens flares, or motion blur.
- Real-World Integration: Adds overlays like vegetation, people, or atmospheric effects.
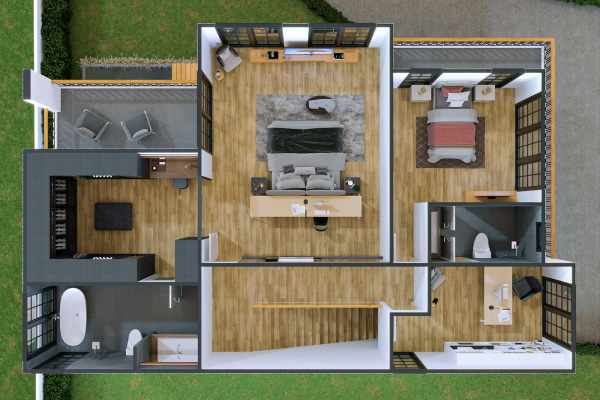
In 3D floor plans, this step often includes adding labels, annotations, and room dimensions for clarity (Adobe, 2023).
The 3D rendering creation process is a meticulously crafted journey where creativity meets technology.
From an initial concept to lifelike visuals, every phase — briefing, modeling, texturing, lighting, camera setup, rendering, and post-processing — plays an essential role.
Whether you’re producing a stunning architectural visualization, an immersive 3D video, or a clear, functional floor plan, this step-by-step method ensures the final product is visually compelling and technically flawless.
By appreciating the workflow behind 3D rendering, clients and creators alike can better collaborate and achieve outstanding results that captivate, inform, and inspire.